How to create Android 9-patch drawables in Figma
I need to quickly iterate over of 9-patch drawables for my Android app Bass Booster and since Figma is my go-to UI design tool, I tried the Android Resources Export plugin. However, 9-patch file export seems currently broken, so I had to figure out another way.
Creating 9-patch Figma frames that export correctly at all resolutions is trickier than it seems. Here’s how I’ve done it, but first, a few caveats:
- Things that aren’t position-based won’t scale (drop shadow size, other effects).
- You can work around this for outline width and corner radius by flattening everything. (unless you want a stroke that is exactly 1px wide at all resolutions for example.)
- Any content needs to scale, so you’ll need to set constraints to ‘Scale’.
If this sounds like a dealbreaker, it might easier for you to export .PNG at the correct maximum multiple of dimensions (x12 for example) and re-import them in secondary Figma frames that add the 9-patch pixels. However, I think using Figma’s component system to override what needs to be changed from one dimension to the other is the way to go (especially to handle 1.5x and 3x). Still what follows is useful to setup and export the frames correctly.
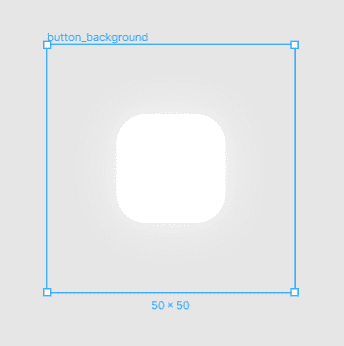
Draw your 9 patch inside a frame at MDPI size.
Make it a component and put a copy of it inside a new frame that’s 2 pixel wider and 2 pixel taller (52x52px for me):
Set its constraints to Left & Right and Top & Bottom (not Scale!).
Create the 4 black 1px wide rectangles. You’ll need them to stick to their side without changing the 1px and scale their height. To do it, set the following alignments:
- Top: ↕ Top ↔ Scale
- Bottom: ↕ Bottom ↔ Scale
- Left: ↕ Scale ↔ Left
- Right: ↕ Scale ↔ Right
Ideally your MDPI base size (50x50 here) should be a multiple of two, so that everything aligns on the pixel grid in HDPI (x1.5).
Now you can make the container frame a component and duplicate it for all densities. The tricky part is that you shouldn’t multiply the container frame size. 52x52 → 104x104 won’t work. You need to use the formula
BASE_SIZE * DENSITY_FACTOR + 2So in my case:
- MDPI = 50 * 1 + 2 = 52
- HDPI = 50 * 1.5 + 2 = 77
- XHDPI = 50 * 2 + 2 = 102
- XXHDPI = 50 * 3 + 2 = 152
- XXXHDPI = 50 * 4 + 2 = 202
Through the component system, everything will be updated when you change the master component and everything will be perfectly aligned to the pixel grid!
An important trick is that you need to put your 9-patch rectangles inside the smaller frame, so 1px outside the frame bounds! This is because when scaling them up, you want Figma to use the ratio of the component frame, not the 9-patch container frame. As per the above formula, you’ll get a ratio of 52/102 when scaling them to HDPI, which would result in slightly-not-black pixels, which would then cause Android Studio to refuse to compile your 9-patch:
AAPT: error: file failed to compile.Exporting
But now, how to export this mess? You have a few options, none of which are ideal:
-
Export each individually from the desktop app with:
- a 1x export with the suffix
/drawable-*dpi/mydrawablename.9 - and any dummy export so that Figma will actually create the folder indicated by the above suffix.
- a 1x export with the suffix
-
Export all at 1x in one shot and:
- either manually rename and dispatch to drawable-*dpi folders
- or use some batch renaming software
- or write a custom script
Someone, somewhere in the world, is probably writing a plugin to automate all the above (hopefully 🤞).


